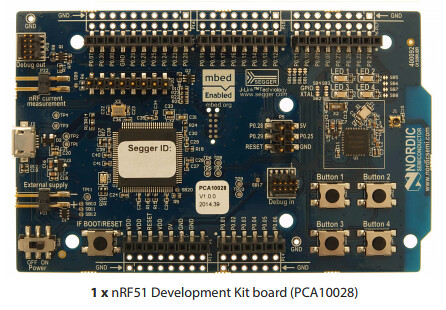
Hardware
(1) 다운로드 GCC ARM Embedded
https://launchpad.net/gcc-arm-embedded/+download
(2) Install GCC ARM Embedded
설치 옵션에서 path 등록 해줘야 함.
Default Path : C:\Program Files (x86)\GNU Tools ARM Embedded
GNUWin32 and CoreUtils
(1) GnuWin32 - Core Utility
http://gnuwin32.sourceforge.net/packages/coreutils.htm
(2) GnuWin32 - GNU Make utility
http://gnuwin32.sourceforge.net/packages/make.htm
nRF51 SDK 10.0.0
(1) nRF51 SDK 다운로드
https://developer.nordicsemi.com/nRF5_SDK/nRF51_SDK_v10.x.x/
SDK를 다운로드 받은 후, 아래 경로로 이동하면 3개의 Makefile이 존재 한다. 각자의 환경에 맞는 파일을 수정하면 된다. ( Makefile.posix : For Linux or OSX User, Makefile.windows : For Windows User)
<SDK>/components/toolchain/gcc
Text Editor를 이용하여 Makefile.windows 파일을 열고,GNU_INSTALL_ROOT와 Version을 수정한다.
ifeq ($(findstring 86, $(ProgramFiles)), )
    PROGFILES := C:/Program Files
else
    PROGFILES := C:/Program Files (x86)
endif

GNU_INSTALL_ROOT := $(PROGFILES)/GNU Tools ARM Embedded/4.9 2015q3
GNU_VERSION := 4.9.3
GNU_PREFIX := arm-none-eabi
Compile nRF51 Sample Example
<SDK>\examples\peripheral\blinky\pca10028\blank\armgcc
CMD 창에서 위 경로로 이동한 다음 make 명령을 수행하면 아래와 같은 로그가 나오며, _build 폴더에 해당 Binary가 생성되는 것을 확인 할 수 있다.
E:\test\nRF51_SDK_10.0.0\examples\peripheral\blinky\pca10028\blank\armgcc>make
rm -rf _build
echo  makefile
makefile
mkdir _build
Compiling file: system_nrf51.c
Compiling file: main.c
Compiling file: nrf_delay.c
Compiling file: gcc_startup_nrf51.s
Linking target: nrf51422_xxac.out
make[1]: Entering directory `E:/test/nRF51_SDK_10.0.0/examples/peripheral/blinky/pca10028/blank/armgcc'
Preparing: nrf51422_xxac.bin
Preparing: nrf51422_xxac.hex

   text    data     bss     dec     hex filename
   1004     104      28    1136     470 _build/nrf51422_xxac.out

make[1]: Leaving directory `E:/test/nRF51_SDK_10.0.0/examples/peripheral/blinky/pca10028/blank/armgcc'

E:\test\nRF51_SDK_10.0.0\examples\peripheral\blinky\pca10028\blank\armgcc>
Download Link for nRF-tools(Windows,Linux)
Optional: erase target if not already blank
<SDK>\examples\peripheral\blinky\pca10028\blank\armgcc>nrfjprog --family nRF51 -e
Erasing code and UICR flash areas.
Applying system reset.
Load FW image to target
<SDK>\examples\peripheral\blinky\pca10028\blank\armgcc>nrfjprog --family nRF51 --program _build/nrf51422_xxac.hex
Parsing hex file.
Reading flash area to program to guarantee it is erased.
Checking that the area to write is not protected.
Programing device.
Reset and Run
E:\test\nRF51_SDK_10.0.0\examples\peripheral\blinky\pca10028\blank\armgcc>nrfjprog --family nRF51 -r
Applying system reset.
Run.
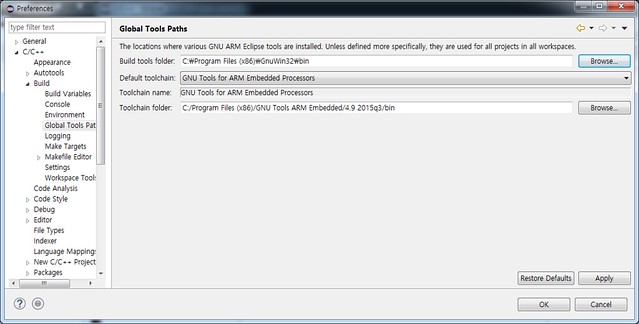
Eclipse 설정
[windows]-[Preferences]-[C/C++]-[Build]-[Global Tools path]
Build tools folder: C:\Program Files (x86)\GnuWin32\bin
Toolchain folder : C:/Program Files (x86)/GNU Tools ARM Embedded/4.9 2015q3/bin
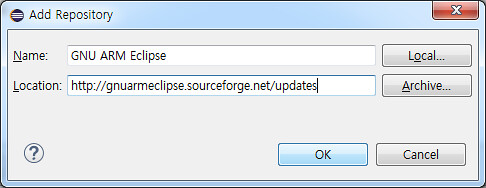
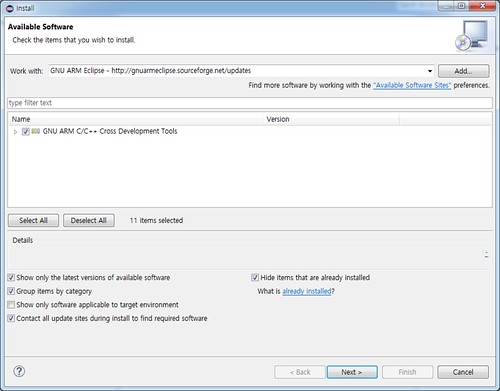
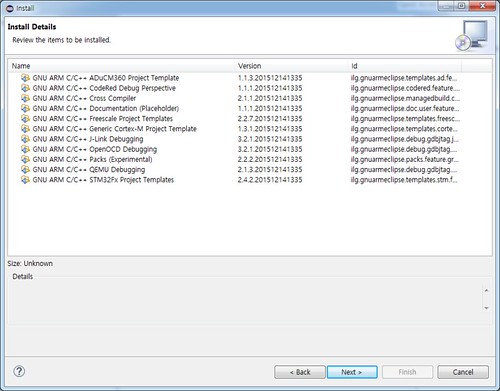
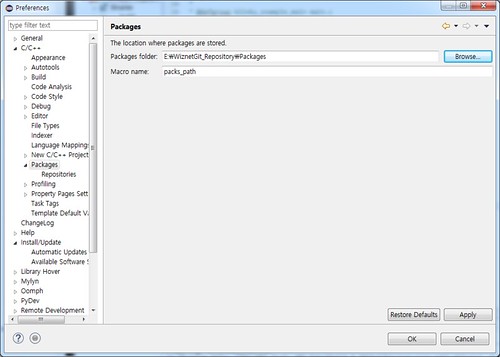
(4) Configuration Packages
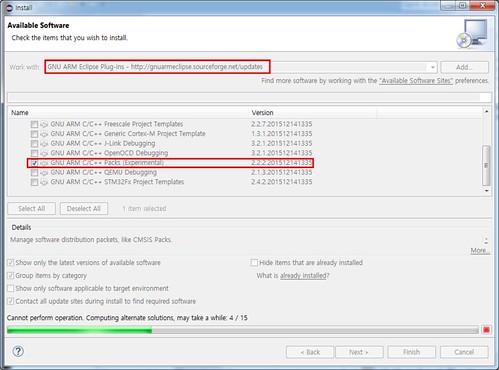
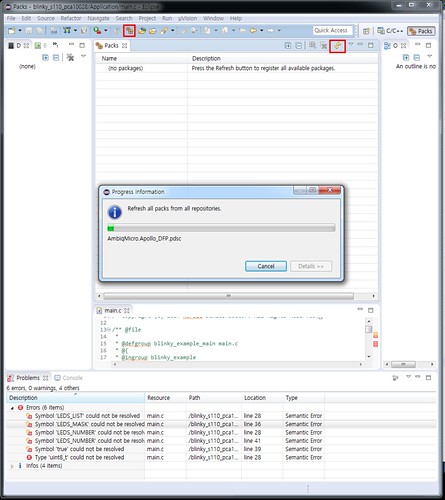
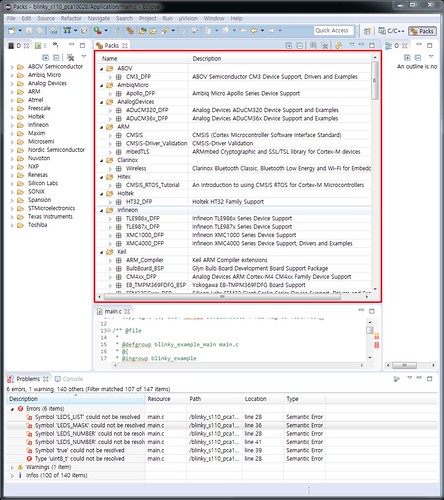
참고 자료
http://gnuarmeclipse.github.io/plugins/packs-manager/
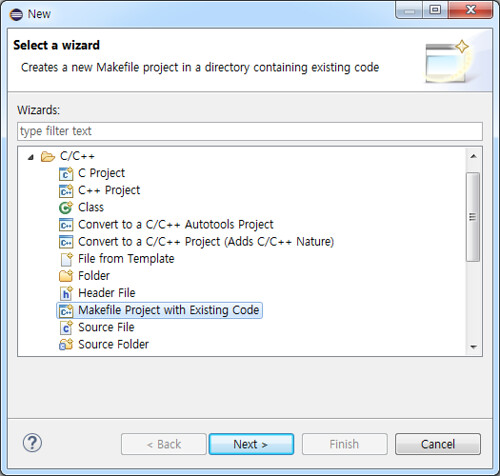
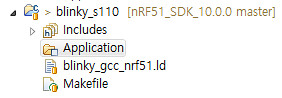
Create a new Eclipse Project
(1) Eclipse 실행 후, [file]->[new Makefile project with existing code] 선택
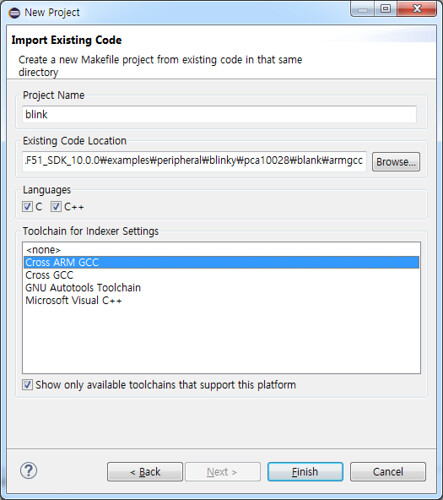
(2) Project Name과 Existing Code Location 지정 후, Finish 버튼 클릭
(Exsting Code Location : \examples\peripheral\blinky\pca10028\s110\armgcc)
(3) Makefile을 열고 C_SOURCE_FILES에 추가 되어 있는 파일들을 Eclipse의 Project Explorer에 추가 한다.
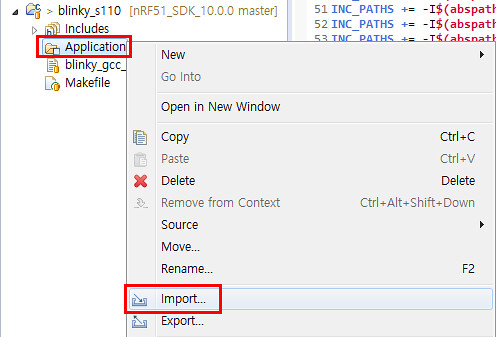
[NEW]-[Folder]-[Advanced]-[Virtual Folder] 체크 후, Folder name에 Application 이름으로 Virtual Folder 생성
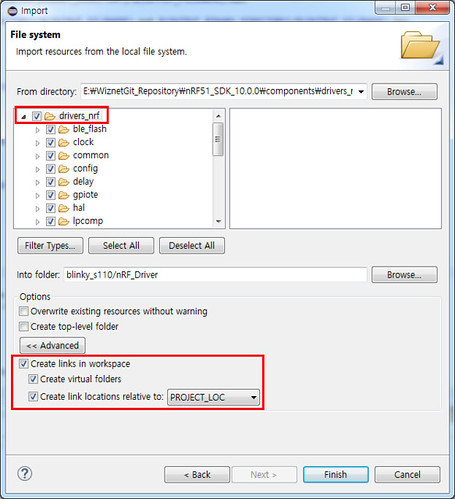
생성된 Virtual Folder 선택 -> [Import]-[File System] 선택
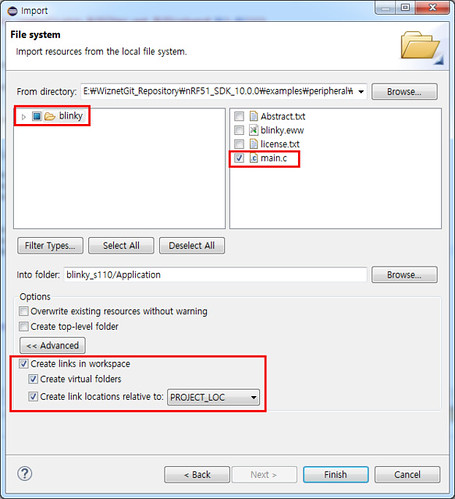
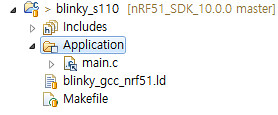
원하는 main.c가 있는 경로 설정 -> main.c 선택 -> Create links in workspace 선택
nRF_Driver 이름의 Virtual Folder 생성-> nRF_Driver 선택-> [Import]-[File System] 선택 후 nRF51_SDK_10.0.0\components\drivers_nrf 폴더 등록
(4) makefile을 열고 CFLAGS의 옵션을 -O3에서 -O0 -g3로 변경한다.
CFLAGS = -DNRF51
CFLAGS += -DBOARD_PCA10028
CFLAGS += -DBSP_DEFINES_ONLY
CFLAGS += -mcpu=cortex-m0
CFLAGS += -mthumb -mabi=aapcs --std=gnu99
CFLAGS += -Wall -Werror -O0 -g3
CFLAGS += -mfloat-abi=soft
CFLAGS += -ffunction-sections -fdata-sections -fno-strict-aliasing
CFLAGS += -fno-builtin --short-enums
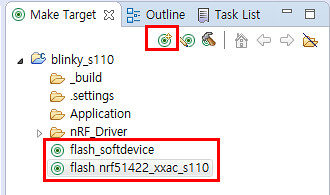
(5) Create Make Target
해당 프로젝트를 컴파일하기 위해서 Make Target을 생성해야 한다. 생성 규칙은 Makefile에 기술되어 있으며, flash_softdevice는 NRF51에 Bluetooth Stack을 업로드하는데 사용되며 flash nrf51422_xxac_s110은 User Application을 업로드 하기 위해 사용된다.
Reference
https://devzone.nordicsemi.com/tutorials/7/development-with-gcc-and-eclipse/
http://redbearlab.com/nrf51822-sdk/